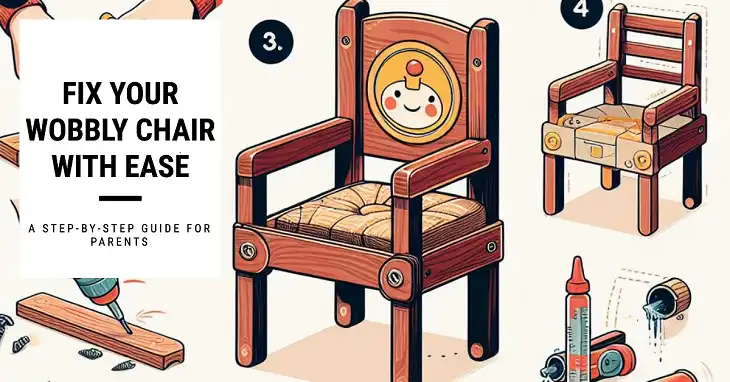
How to Fix a Wobbly Upholstered Chair: A Step-by-Step Guide for Parents
As children grow and explore their surroundings, it is common for chairs designed for young ones to become loose and wobbly over time. This can create frustration for your child and poses a safety hazard as well. With some basic tools and straightforward techniques, you can easily inspect and repair a wobbly toddler chair to restore much-needed stability.
This step-by-step article will walk you through the process of diagnosing and fixing unsteady chairs, making them sturdy and safe for your energetic little one again.
What Causes Chair Wobbling in the First Place?
Before fixing an unsteady chair, it helps to understand what makes chairs wobble over time:
Loosened joints – Constant movement can loosen joints where legs attach to the seat, especially if the joints rely solely on screws or nails instead of sturdy wood joints.
Uneven legs – If one or more legs are shorter than the others, uneven contact with the floor causes rocking.
Weakened materials – Prolonged stress can crack wood pieces like legs or a splintered seat. Plastic chairs can also crack.
Loose fasteners – Vibration and use loosens screws, bolts, nuts, and other fasteners over time.
Poor quality – Lower-end chairs often lack bracing and reinforcements to maintain integrity through years of use.
Missing glides – Without glides underneath, chair legs gradually grind down unevenly against the floor.
Excessive loads – Extra heavy loads like large adults or kids climbing/jumping on chairs stress components.
Improper assembly – Errors when originally constructing the chair lead to instability.
Now that we know why chairs wobble, let’s explore how to fix them, with proper preparation and protection of course.
Preparing for Chair Repairs
Before beginning work on a wobbly chair, take time to gather the necessary supplies and protect your child from potential hazards:
Tools – Pick an open, well-lit area and compile tools like a screwdriver, adjustable wrench, wood glue, level, and safety goggles. Store dangerous power tools safely out of reach.
Parts Protection – Provide your toddler with small containers to hold screws, bolts, and washers as you disassemble chair components. This gives them an important role while keeping tiny pieces organized.
Cleaning Supplies – Lay down towels or a tarp to control dust and debris. Have a small broom, wet wipes, and a dustpan on hand for quick cleanup.
Safety First – Ensure you and your child wears safety goggles designed for toddlers. Remind them to let you handle sharp tools and toxic adhesives. Frequent breaks and close supervision are essential.
Inspecting and Diagnosing the Issue
Pinpointing the exact cause of wobbliness is crucial before attempting repairs. Inspect the following elements to do so:
Inspect Joints and Legs – Examine the chair from all angles, looking for loosened joints or hardware where components connect. Try rocking/tilting the chair gently as you observe.
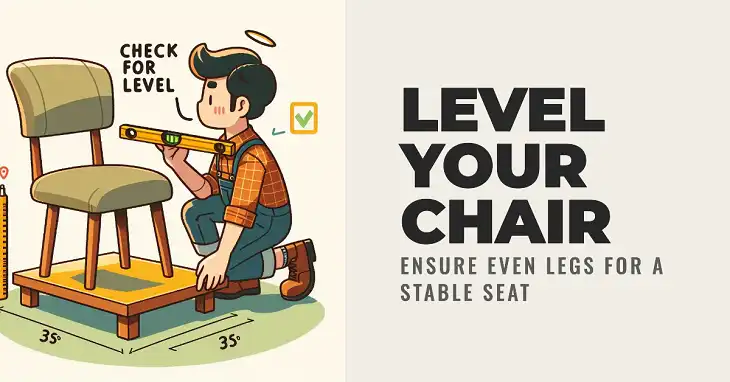
Check for Level – Place the chair on a flat surface and assess if rocking is due to uneven legs. Use a small-level tool if unsure.
Peer Underneath – Have your toddler lie on their tummy and peek underneath the chair. See if any braces, springs, or fasteners have come loose.
Tightening Loose Joints and Hardware
One main source of wobble is joints between the legs, rails, and the seat becoming loose. To address this, do the following:
Step 1: Remove any loose fasteners first, cleaning out old glue or grime so new fasteners adhere better.
Step 2: Replace severely stripped/damaged screws or bolts with new hardware of equal or heavier strength.
Step 3: Tighten all joint fasteners firmly with a screwdriver and wrench but take care not to strip screw heads.
Step 4: Secure joints further with wood glue before re-tightening – allow ample drying time as directed.
Leveling Uneven Legs
Another common culprit is legs of varying heights placing the chair off-balance. To fix it, do the following:
Step 1: Rotate individual adjustable glides underneath legs to raise and lower them until the chair sits flush.
Alternative Step: Alternatively, add small washers, pennies, or shims between short leg bottoms and existing glides to add height.
Reinforcing Weak Joints
For severe wobbling concentrated at certain joints, you might consider reinforcing weak joints. To do it, consider the following:
Step 1: Disassemble the joints completely, clean, re-glue, and clamp tightly until the glue dries fully.
Step 2: Attach metal corner braces or triangular knee braces for added reinforcement at weak joints while the glue cures.
Step 3: For weak stretchers between legs, add an additional stretcher parallel to the existing one.
Replacing Defective Parts
Over time, chair components simply wear out or break. Therefore, you should consider replacing them if they are too worn out for repair.
Step 1: Examine the seat, legs, and base rails for cracks or splinters. Replace defective parts with new hardware.
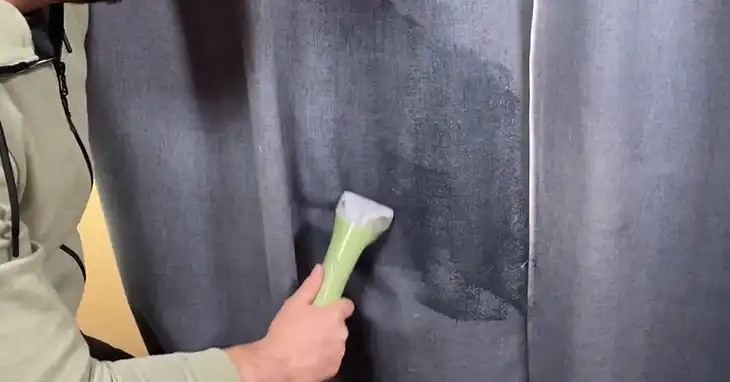
Step 2: For broken springs in upholstered chairs, remove the fabric and replace the spring assembly.
Step 3: Replace stripped-out screw holes with new pilot holes using wood glue before re-driving screws.
Frequently Asked Questions
How can I stop my rocking chair from tipping over backward?
Install anti-tip kits on the back legs or attach tip-resistant brackets to the rear legs and wall.
What is the best glue for reinforcing wobbly chair joints?
Wood glue or carpenter’s glue is recommended for bonding chair components. Allow ample drying time.
Should I just replace my toddler’s broken chair instead of repairing it?
Consider the repair costs versus replacing it entirely. Damaged antique or sentimental chairs may be worth fixing.
With vigilance, patience, and the right techniques, you can transform your child’s frustrating wobbly chair into a stable seat once again. Engaging your toddler in the process will build life-long skills for diagnosing and resolving problems.