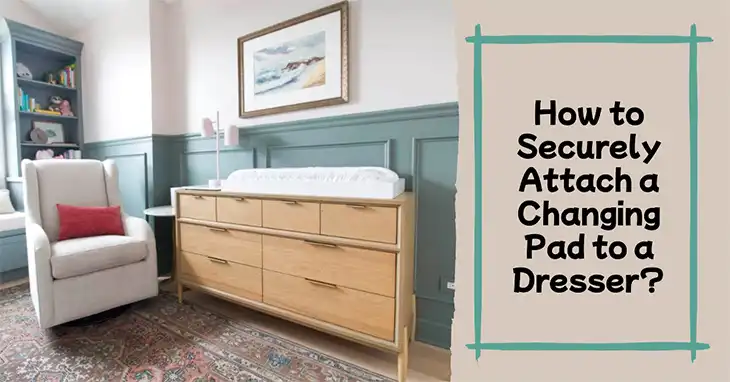
How to Securely Attach a Changing Pad to a Dresser?
As a new parent, setting up a safe and functional nursery is a top priority. One essential piece of furniture is a sturdy dresser that can double as a convenient changing station. By securely attaching a changing pad to the dresser, you can create a designated diaper-changing area that saves space while ensuring your little one’s safety during those frequent diaper changes.
However, it’s crucial to choose the right attachment method and follow proper safety guidelines. Improperly secured changing pads can pose a serious risk of falls and injuries. This article will walk you through the various options for securely attaching a changing pad to your dresser, ensuring a safe and practical setup for both you and your baby.
How to Assess Your Dresser Before Attaching The Changing Pad
Before you can select the appropriate changing pad and attachment method, it’s essential to evaluate the dresser itself. Start by measuring the top surface to ensure you choose a pad that fits comfortably without hanging over the edges. Take note of any raised edges or lips around the dresser top, as these can affect the attachment process.
Next, assess the dresser’s material and overall sturdiness. A solid wood or heavy-duty laminate dresser is ideal for supporting the weight of a changing pad and your baby. If your dresser seems too lightweight or wobbly, it may not be suitable for this purpose, and you should consider investing in a dedicated changing table or a more robust piece of furniture.
How to Choose the Right Changing Pad for Attaching
With numerous changing pad options available, it’s essential to select one that meets your needs and can be securely attached to your dresser.
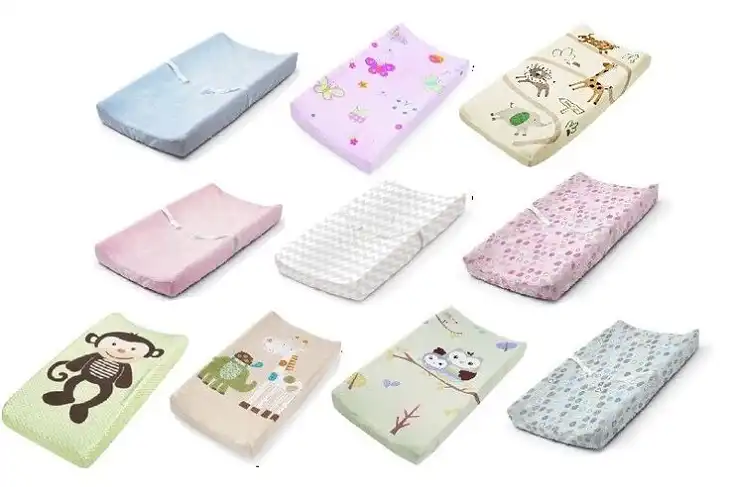
Here’s a quick breakdown of the different types:
Contoured Pads: These pads feature a scooped center and raised edges, which can provide better positioning and containment for your baby during changes. However, their irregular shape may require additional securing methods.
Universal Pads: As the name suggests, these rectangular pads can fit most dresser tops and often come with built-in straps or attachment options, making them a versatile choice.
Dresser-Specific Pads: Some manufacturers offer pads designed specifically for their dresser models, ensuring a perfect fit and integrated attachment features like straps or rails.
When choosing a changing pad, consider its dimensions, weight capacity, and materials. Opt for a pad that can comfortably accommodate your growing baby while providing a safe and secure surface for diaper changes.
Attacking the Changing Pad to the Dresser
Built-in Attachment Options
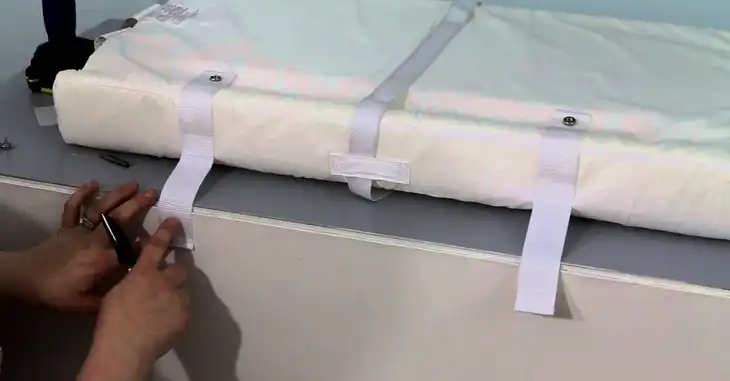
If your changing pad comes with built-in straps or buckles, attaching it to the dresser can be relatively straightforward. Follow these steps for a secure fit:
- Locate the straps or buckles on the changing pad and extend them to their full length.
- Position the pad on the dresser top, ensuring it’s centered and aligned with the edges.
- Wrap the straps around the back or sides of the dresser, depending on the design.
- Pull the straps tight and secure them firmly, ensuring there’s no slack or movement.
It’s crucial to check the strap quality periodically and replace them if you notice any signs of wear, fraying, or loosening. A well-secured pad should remain firmly in place without sliding or shifting during diaper changes.
Adhesive Mounting Methods
For universal changing pads without built-in attachment options, heavy-duty adhesive strips like Command strips or Velcro can provide a secure mount. However, it’s essential to follow the manufacturer’s instructions carefully and consider the weight limits and material compatibility.
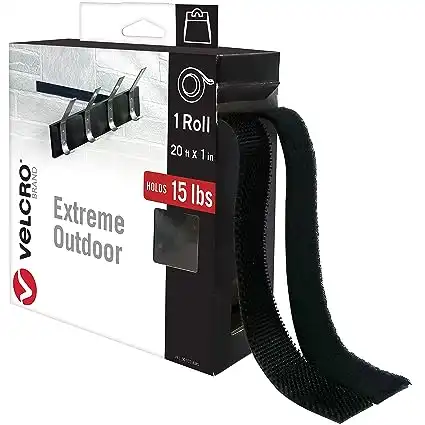
Start by thoroughly cleaning and preparing the dresser surface to ensure proper adhesion. Apply the adhesive strips or Velcro according to the directions, taking care to align them correctly. Once in place, press the changing pad firmly onto the adhesive for a secure bond.
While adhesive mounting can be a convenient option, it’s crucial to regularly inspect the attachment and replace the strips if they show signs of weakening or losing their grip. Additionally, be mindful of the weight capacity and avoid overloading the adhesive mount.
Changing Pad Toppers and Baseplates
Another option for securely attaching a changing pad is to use a topper or baseplate designed with a non-slip or gripping base. These products provide a stable surface for the changing pad to rest on, preventing sliding or movement.
To use a changing pad topper, simply place it on the dresser top and position the changing pad on top of the secure base. Ensure that the topper is properly aligned and doesn’t overhang the edges of the dresser.
When choosing a topper or baseplate, consider its weight capacity and compatibility with your changing pad. Additionally, follow the manufacturer’s instructions for proper cleaning and maintenance to ensure the non-slip surface remains effective over time.
How to Use Brackets or Hardware to Attach The Changing Pad
For a more permanent and secure solution, you can install brackets or hardware directly onto the dresser to hold the changing pad in place. This method is best suited for experienced DIYers or those willing to hire a professional, as it involves drilling into the dresser.
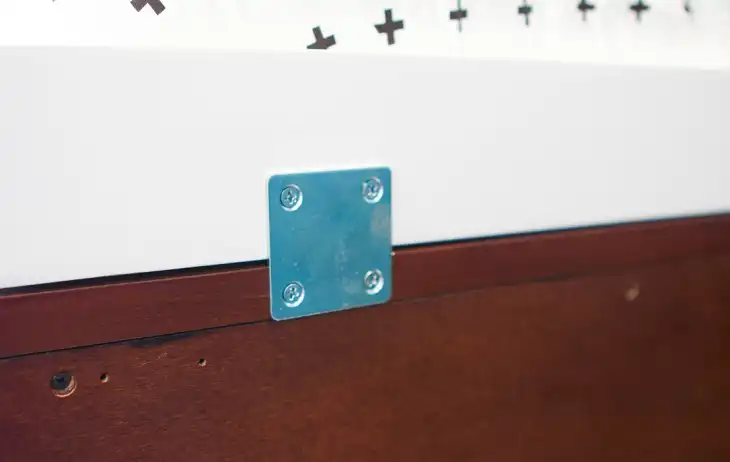
Before proceeding, carefully assess the dresser material and ensure it’s suitable for drilling and mounting hardware. Plan the bracket placement strategically, considering stability and weight distribution.
Gather tools such as brackets, screws, a drill, and a level. Follow the manufacturer’s instructions or seek professional guidance to ensure proper installation.
While this method provides a robust attachment, it’s important to exercise caution when drilling into furniture, especially if the dresser holds sentimental or monetary value. Additionally, consider the long-term plans for the dresser, as the installation may not be easily reversible.
Safety Checklist
Regardless of the attachment method you choose, it’s crucial to prioritize safety when setting up your changing station. Here’s a comprehensive checklist to ensure a secure and hazard-free environment:
- Secure Attachment Test: Once the changing pad is attached, give it a firm tug to ensure it doesn’t slide or move. It should remain firmly in place.
- Use Rails, Bumpers, or Pool Noodles: Even with a secure attachment, consider adding rails, bumpers, or pool noodles around the edges of the dresser for extra protection against accidental falls.
- Set Up Changing Station Essentials: Keep all necessary items like diapers, wipes, creams, and clean clothes within easy reach to avoid leaving your baby unattended during changes.
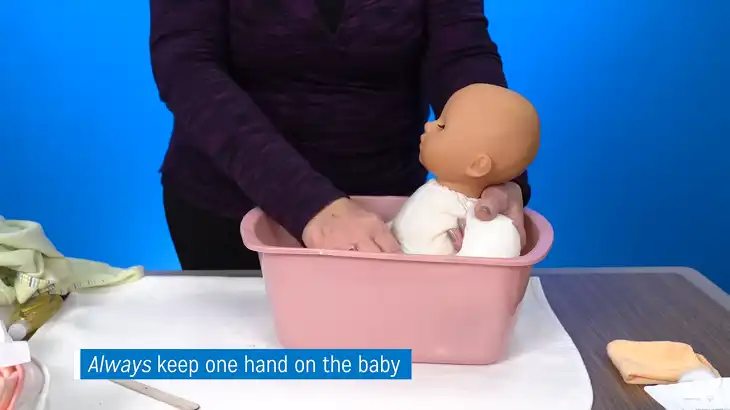
- Safe Diapering Practices: Never leave your baby unattended on the changing surface, even for a moment. Always keep one hand on your little one to prevent falls.
- Regular Attachment Inspections: Periodically check the attachment method for signs of wear, loosening, or damage, and address any issues promptly to maintain a secure setup.
By following this safety checklist, you can create a secure and functional changing station that puts your baby’s well-being first.
Alternatives to Permanently Attaching Your Changing Pad to the Dresser
If you’re not ready to commit to a permanent attachment solution or prefer a more flexible option, there are alternatives to consider:
Non-Slip Dresser Pads or Liners: These products can increase grip and prevent the changing pad from sliding around on the dresser top. However, they don’t provide the same level of security as an attached pad, so constant supervision is necessary.
Portable Changing Pads and Stations: For added portability, you can opt for a lightweight, freestanding changing pad or station that can be easily moved from room to room or packed for travel.
While these alternatives offer flexibility, it’s essential to prioritize safety and consider the potential risks associated with an unsecured changing pad.
Final Words
Creating a secure and practical changing station is a crucial part of baby-proofing your nursery. By following the guidance in this article, you can confidently choose the right attachment method for your changing pad and dresser, ensuring a safe and convenient setup for those frequent diaper changes.
Remember to regularly inspect the attachment and address any issues promptly. As your baby grows, consider upgrading to a larger changing pad or investing in a dedicated changing table to accommodate their size and movement.