5 Simple Ways to Fix a Sticky Toy Box Lid
Having a toy box with a lid that sticks and won’t open smoothly can be incredibly frustrating for kids and parents alike. Suddenly it takes Herculean strength just to access all those toys jammed inside. Even worse, once closed, the lid can pinch little fingers as you try to pry it back open again.
But don’t worry – with a few common household items and techniques, you can get your toy box lid sliding easily once more. In this article, we’ll talk about the common causes of sticky lids and walk through solutions ranging from quick DIY fixes to heavy-duty cleaning methods.
Why Toy Box Lids Get Sticky
Before we dive into fixes, it helps to understand the most common culprits behind a suddenly sticky toy box lid. Here are some of the usual suspects:
Spilled Liquids
Juice, milk, soda – if it can be spilled, chances are it has been spilled on or around your toy box at some point. These sugary liquids can leave behind a sticky, gummy residue as they dry.
Food Messes
Crumbs, smears of peanut butter, and other food debris can collect on the lid surface. Oils and sugars in these food remnants eventually cause stickiness.
Heat and Humidity
Wood naturally expands and contracts with changes in temperature and moisture. In humid environments, wood can swell slightly, making the lid rub against the box.
Old Paint
Over time, painted surfaces can develop a tacky texture as the paint deteriorates. When this happens on a toy box lid, stickiness and resistance can occur.
Wear and Tear
Regular opening and closing slowly degrade the finish. Bumps and rough handling also take a toll. This can lead to small stuck points as the wood finish ages.
Pay attention as you open your toy box. Sticky spots or stains likely point to the underlying issue. Once you’ve identified the culprit, you can choose the best fix.
How to Clean Sticky Toy Boxes with Cleaning Solutions
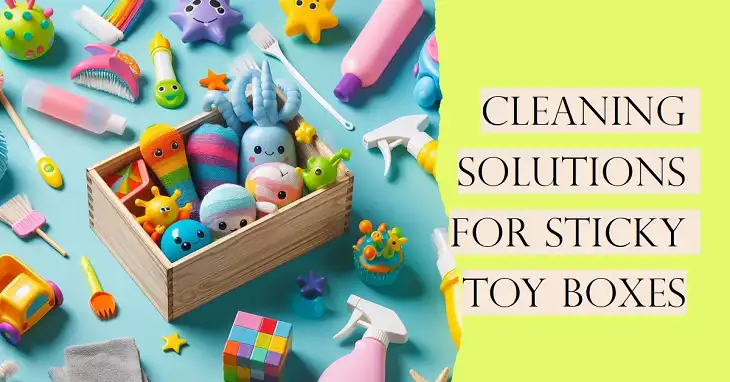
If your stickiness stems from spills, food grease, or other gunk, cleaning is the first line of defense. Start mild and gradually work stronger as needed.
Dish Soap and Water
For light stickiness from unknown sources, mild dish soap and water often do the trick.
- Mix a few drops of soap per quart of warm water. Avoid using cleaners – they can leave a residue.
- Dampen a soft cloth in the solution and gently wipe sticky areas.
- Wipe again with a clean damp cloth to remove soap.
- Allow to fully dry before closing the lid.
The detergent helps dissolve oils and loosen debris while the water carries it away. This simple solution is safe for most finishes.
Vinegar
For stickiness caused by sugary residues, vinegar’s mildly acidic properties work wonders.
- Mix equal parts white vinegar and warm water.
- Follow the same method as above using vinegar solution.
- If needed, let the solution sit for 5 minutes before wiping to allow the vinegar to dissolve stickiness.
- Rinse with a clean damp cloth.
The acetic acid in vinegar breaks down many stubborn, sticky messes. It also serves as a mild disinfectant.
Rubbing Alcohol
Rubbing alcohol pulls double duty as a disinfectant and degreaser. It excels at removing oily, waxy, or otherwise gummy residues.
- Use 70% isopropyl alcohol at full strength or dilute with a bit of water.
- Dampen cloth and wipe down sticky areas.
- Rinse with water water-dampened cloth.
- Spot test first in an inconspicuous area to ensure the finish can tolerate alcohol.
The solvent properties of alcohol allow it to cut through all sorts of sticky gunk. Great for gum, adhesive, grease, and unknown sticky messes.
Mineral Spirits
For heavy-duty stickiness or smoother wood finishes, mineral spirits offer strong solvent cleaning.
- Use in a well-ventilated area – outdoors is ideal.
- Dampen a cloth with mineral spirits and lightly rub affected areas.
- Wipe clean with a rag dampened with fresh mineral spirits to remove residue.
- Allow the lid to fully dry in a ventilated space before closing.
Mineral spirits dissolve adhesive, paint, oils, and other serious stickiness. But use caution as they can also damage some finishes. Always test first!
Tip: For stuck-on candy or gum, try freezing first to harden the sticky mess. This allows it to be more easily chipped or scraped off.
Other Quick Fixes for Sticky Lids
If cleaning alone doesn’t solve the problem, a few quick DIY fixes can often get your lid sliding smoothly once more.
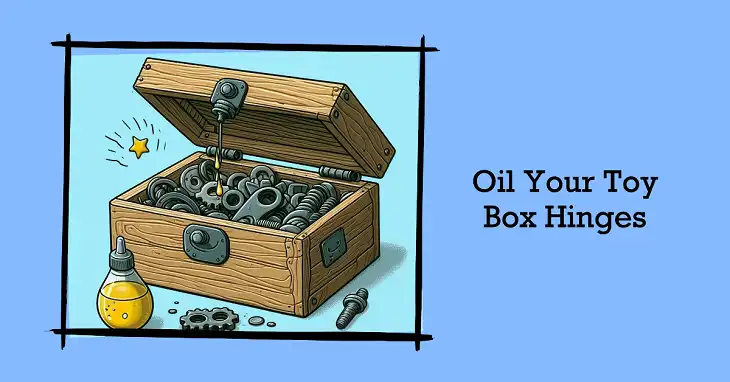
Lubricate Hinges
Oil the hinges just like you would a squeaky door. This minimizes friction and wear.
- Wipe hinges with a dry cloth to remove any dirt or debris.
- Apply a few drops of household oil like sewing machine oil along each hinge.
- Work oil into hinge joints with a dry cloth.
- Open and close the lid a few times to distribute oil.
- Wipe away any excess.
You can also use a dry lubricant like spray-on cooking oil or dry Teflon spray. This won’t attract dirt like wet oils.
Light Sanding
Over time, opening and closing can rub down the finish, leaving tiny stuck points. Lightly sanding smooths these spots.
- Use extra fine (220+ grit) sandpaper and sand lightly along rough spots and edges.
- Avoid applying too much pressure, which can further damage the finish.
- Wipe sanded areas with a dry cloth when done.
- Apply paste wax to refresh smoothness and luster.
Be cautious not to round over sharp edges which can lead to misalignment. And take care of softer finishes like paint which sand quickly.
Adjust or Tighten Hinges
If hinges have loosened over time, a simple tightening can realign the lid.
- Inspect each hinge. Are screws loose? Are hinges crimped or bent?
- Tighten any loose screws with a screwdriver. Don’t over-tighten.
- Use pliers to gently bend any crooked hinges straight again.
- Add washers if needed to take up extra space if hinge holes have enlarged.
Proper hinge function ensures perfect alignment and smooth opening. Replace damaged hinges for best results.
Break Seal with Freezing
For a lid that feels sealed shut, freezing can help break the bond.
- Open the lid as much as possible. Insert painter’s tape a few inches down on opposite sides to prevent fully closing again.
- Place the toy box with the lid open in the freezer overnight.
- The next day, remove it from the freezer and immediately try opening it while cold. The temperature difference often breaks the seal.
- If needed, insert a paint scraper or ruler and gently pry open. Don’t force.
- Let the lid thaw completely before closing again.
The rapid contraction of freezing can essentially “pop” the lid loose when quickly warmed again to room temperature.
How to Prevent Future Stickiness
To avoid a recurrence of stickiness, there are some simple habits you can build that will keep the toy box lid sliding smoothly for years. Make sure to remind kids not to put drinks, food wrappers, half-eaten snacks, or other messy items on top of the toy box.
Immediately wipe up any spills that do occur on or near the lid before they have a chance to dry and become sticky. Designate a spot away from the toy box area for drinks, snacks, and meals to prevent accidental spilling.
Also, try to remember to keep the lid fully closed whenever toys are not actively being removed or put away. This protects the inner surface from dust buildup and debris that could eventually cause sticking.
For easier periodic cleaning, apply sheets of removable shelf liner to the inside of the lid. Replace the liner every few months or anytime it appears dirty or stained.
Summing Up
At the end of the day, a smoothly functioning toy box lid makes life easier for busy parents. More importantly, it allows kids to safely and easily access all those toys jammed inside.
By understanding common sticker-upper culprits and utilizing the right solutions, you can get even the stickiest situation smoothed out. Whether it’s a thorough cleaning or a quick DIY tweak, your toy box will be back in working order before you know it.