How to Secure Loft Bed to the Wall?
Securing a kid’s loft bed firmly to the wall is an essential safety step for preventing accidents and injuries. A loose, wobbly bed frame can be dangerous if your child leans or falls against it. Properly mounting the bed will ensure it does not detach from the wall even with vigorous activity.
Installing just a couple of brackets on the upper bunk is not enough. You need robust metal brackets securely attached at strategic points on the bed frame and anchored into the wall studs or masonry anchors. Additional L-brackets under the top bunk provide further reinforcement.
Follow these steps to safely secure your child’s loft bed tightly to the wall for accident-proof stability:
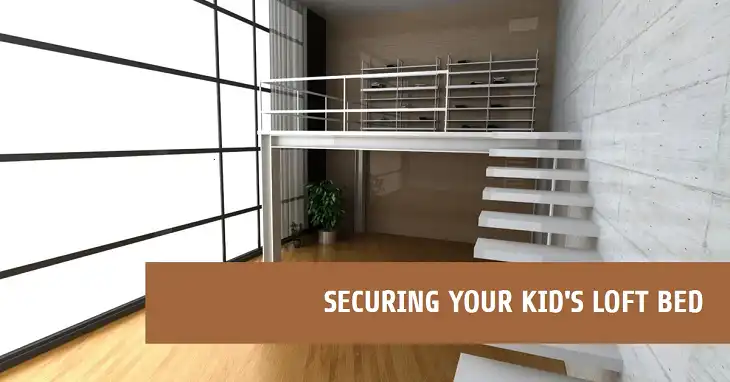
What You’ll Need for Securing Your Kids Loft Bed to the Wall?
Before starting the installation, gather the necessary tools and hardware to properly anchor the loft bed frame to the wall. Having the right equipment will make the process much smoother.
Here is what you will need:
- Heavy duty metal right angle brackets with holes for screwing into the bed frame – get at least 4 of these
- Long wood screws for securing the brackets to wall studs
- Hollow wall anchors if not hitting studs, get expansive bolt type anchors
- Cordless drill with assorted drill bits
- Stud finder to locate studs behind drywall
- Phillips head screwdriver bit for drill
- Tape measure and pencil to mark stud locations
- Level to ensure the bed is mounted straight and evenly
- L-brackets for underside reinforcement (optional)
The key is sturdy steel brackets, rated for at least 150 lbs working load each, and proper fasteners for the wall type. Do not rely on plastic anchors – use anchors designed for furniture mounting. Having an extra set of hands will also be useful during installation.
Position the Loft Bed Against the Wall and Mark Attachment Points

The first step in securing the loft bed is to properly position it against the wall where it will be mounted. Take your time to place the bed frame exactly where you want it to go before marking locations for installing the brackets.
Locate Studs Using Stud Finder
To find the wood studs behind the drywall, use a stud finder tool. Slowly slide the stud finder across the wall surface where the bed frame will go while pressing firmly. When it detects a stud, it will indicate the edge of the stud so you can mark it with a pencil.
Mark both edges so you know the center point of each stud. Try to line up at least two of the angle bracket attachment points over studs for maximum strength.
Place Loft Bed Frame Against Wall
Start by moving the loft bed into its final position against the wall where it will be mounted. Place the end boards and sides flush against the wall. This will allow you to mark the locations for drilling the bracket holes and wall anchors.
Or Mark Out Points for Hollow Wall Anchor Insertion
If the wall is masonry without studs, like concrete, brick, or plaster, you will need to use hollow wall anchors. Mark out evenly spaced points to drill for the anchor insertion instead of locating studs. Space anchors every 16-24 inches along the mounting area.
Securely Attach Brackets to the Loft Bed and Wall
With your attachment points marked, you can now start installing the brackets securely to the loft bed and wall. This is the key step that provides complete rigid stability.
Screw Heavy Duty Angle Brackets into Bed Frame Vertically
Position heavy duty steel right angle brackets vertically aligned on the inside of the loft bed end boards. Make sure they are placed right on a corner joint for added strength. The bracket should fit flush against both the horizontal and vertical beams.
Use long wood screws to firmly screw each bracket into the timber of the bed frame. Two screws per bracket are ideal for a tight hold. Predrill pilot holes to prevent splitting the wood.
Drill Pilot Holes for Anchors if Not Securing to Studs
For hollow drywall without studs, use a drill to make holes at your premarked points for inserting the wall anchors. Use a bit slightly smaller than the anchor diameter. This allows the anchor to grip the wall tightly.
Use Long Screws to Anchor Brackets to Wall Studs or Anchors
With the brackets firmly attached to the bed frame, now fasten them securely to the wall. For mounting into studs, use long wood screws at least 3 inches long driven into the center of the studs. For hollow drywall, insert your screw-in Hollow Wall Anchors first before screwing the bracket into place.
Check that the brackets are flush against the wall and drawn tight as you screw them in. Go slowly to avoid stripping the fasteners.
Add Extra Brackets for Security
For optimal strength and rigidity, install additional brackets to reinforce the upper bunk framing right into the wall surface. This prevents any chance of detachment or looseness over time.
Attach L-brackets under the Top Bunk Frame into the Wall
Attaching steel L-brackets pointing down under the side rails and end boards of the top bunk provides excellent shear strength. Screw them into the bed frame joists, then anchor into the wall like the angle brackets. This anchors the top edges firmly in place.
Mount Angle Brackets to Top Bunk End Boards Against Wall
For even more security, you can mount right angle brackets on the outer side of the top bunk’s end boards, screwed sideways into the board and wall stud. Combine this with the vertical brackets on the inside framing and L-brackets under the rails for rock-solid stability.
Test Sturdiness and Security of Loft Bed
Once fully installed with all brackets securely tightened, confirm that the loft bed does not shift or wobble when pressure is applied. Do a final check that all connections are tight and sound.
Shake the Bed Frame to Check Attachment is Secure
Grasp the upper end of the bed frame and vigorously shake back and forth and side to side. There should be no sounds of creaking or loosening of the brackets. The entire bed should remain firmly fixed in place without any movement.
Confirm All Brackets are Tightly Fastened to Bed Frame and Wall
Go around and manually test each bracket by attempting to twist or rock it. The brackets should not budge or detach at all when you try to move them. Tighten any loose screws to refasten if needed.
If there is any looseness observed, install another bracket to reinforce the weak area. Keep testing until the bed frame has absolutely no play when shaken or pressure applied.
Use Proper Anchors and Supports for Safety
When securing any heavy furniture like bunk beds and lofts to walls, keep these safety tips in mind:
Do Not Rely on Drywall Alone for Attachment
Never attempt to simply screw heavy brackets directly into drywall only. This will easily rip out, creating a dangerous situation. Always try to hit wood studs or use a combination screw and anchor system.
Use Studs or Specialty Hollow Wall Anchors for Secure Mounting
For solid mounting, the bracket fasteners must penetrate into solid structural material like wood studs or be secured with anchors designed for weight loads. Plastic drywall anchors cannot provide enough grip for large furniture.
Installing loft beds properly against the wall takes a bit more time and work than simply assembling the frame. But following these guidelines ensures your child’s bed is firmly fixed in place so they can play safely and sleep soundly. Mounting it securely could prevent a serious accident and injuries.
End Notes
Well, that wraps up my advice for rock-solidly mounting your little one’s loft bed to the wall! I hope these tips help you safely secure their bed and prevent any accidents. Having the right brackets and properly hitting those studs makes all the difference. Don’t forget to give it a good shake test afterwards too! If you have any other handy parent questions, let me know in the comments. I’m always happy to help a parent keep their kiddos safe. Now go get those beds anchored nice and tight. Thanks for reading!

